Configuration custom domain
Before you start : in this guide we will be using the caption as an example: domain.com that will be replaced by your own domain. Moreover every configuration error in the DNS zone might malfunction; not just the website but also other services like emails. We suggest to always do the backup of your current DNS zone before changing any setting.
Step 1:
Go to Web Site app

Step 2:
In the domain options go to custom domain section,
insert the domain and click connect.
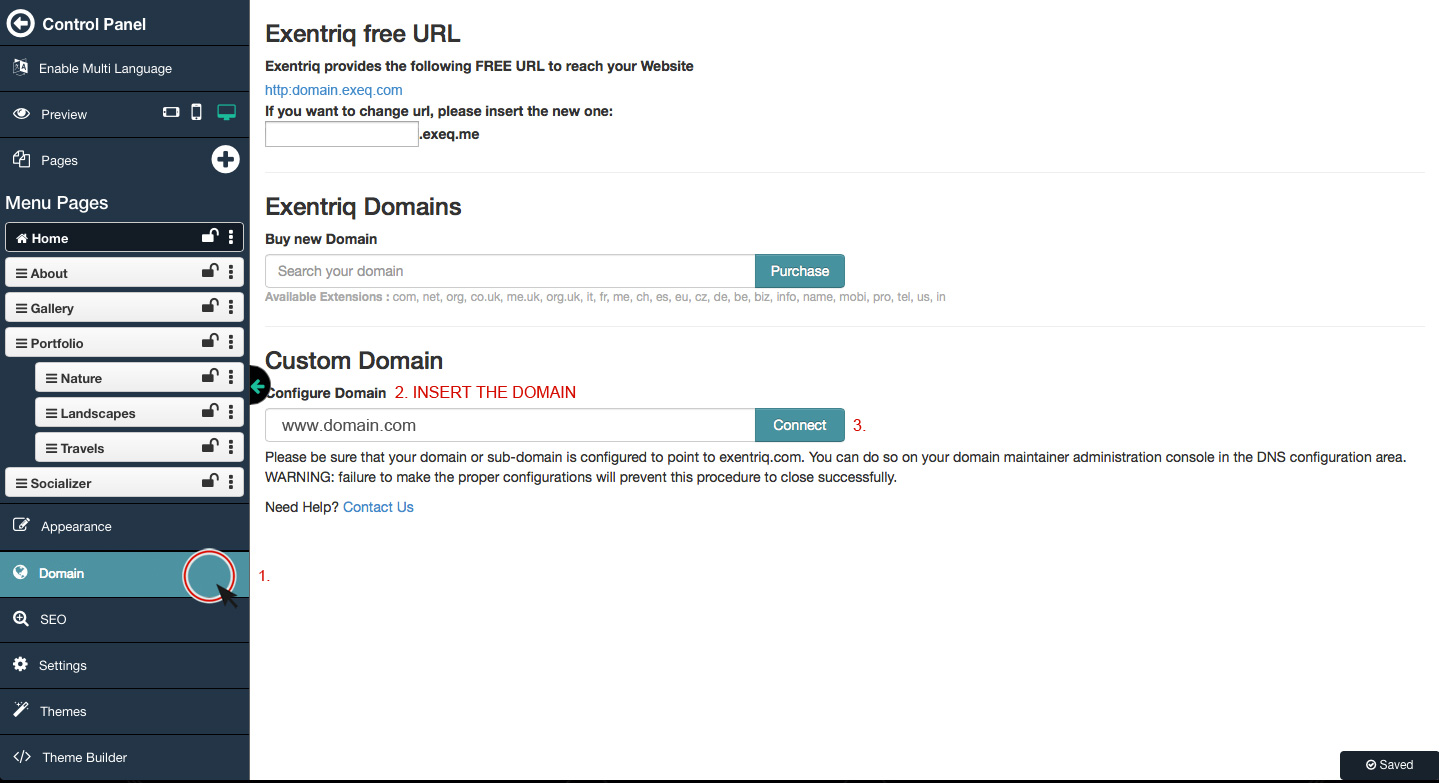
(example: www.domain.com without http://)
Step 3:
Change the DNS zone or configuration file of your domain ,
access the control panel of your provider.
(eg. Register, Aruba, TopHost..).
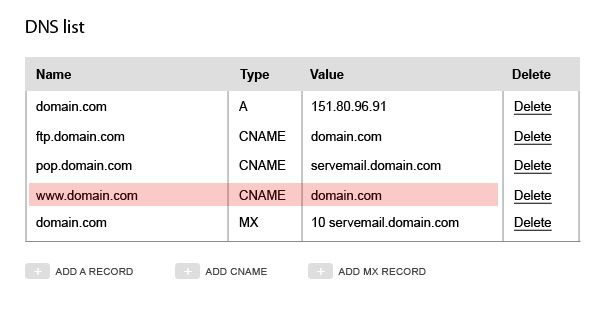
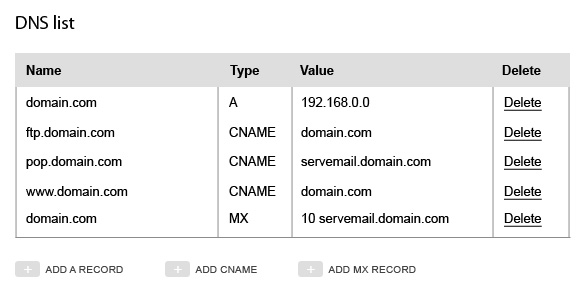
It's usually seen a chart in summary that contains all the records of the DNS zone.
N.B.: The space of interest is the domain.com type A value IP. The Record A is a record that the value is always the IP address.
Do not confuse with the domain.com type MX value ADDRESS, that is about the configuration of the server mail.
Let's see it now how we can change the settings.
Step 3.1
Save the DNS zone as a precaution
(exemple of a text file).
Step 3.2
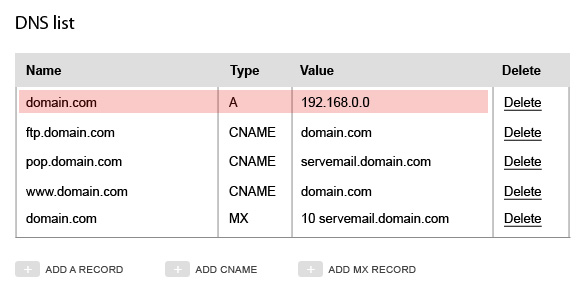
Cancel and create the main record (domain.com) or change the one that already exists
(if the provider allows).
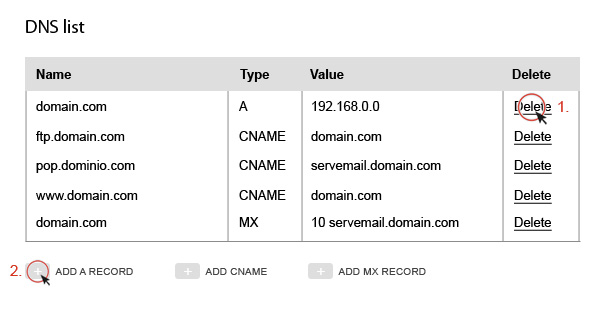
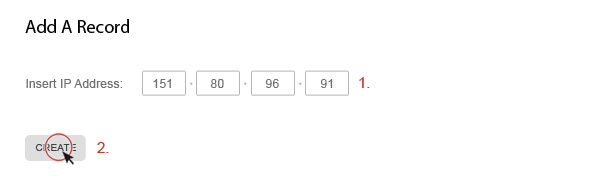
Step 3.3
Insert IP 151.80.96.91 where is required
(some providers require also to add "name" and "type").
Step 3.4
Make sure that the record WWW is CNAME type and the value the main domain (domain.com).